
The Google Keyword Planner is a free tool that allows you to do keyword research in an efficient manner and also helps to target your ads to a specific location. To target your ads to a location you can use location groups metrics that to target your ads to people in certain geographic areas.
To use location groups, simply create a new campaign and select the “Location groups” option under “Targeting.” From there, you can add the locations you want to target.
Keep in mind that you can target multiple location groups in a single campaign. This can be very useful if you want to target different geographic areas with different messages.
If you’re not using location groups in your campaigns, you’re missing out on a great opportunity to reach your target audience
Why is targeting important in advertising?
Targeting is key to effective advertising. There are two main purposes when using location groups:
- Reach the right audience – By targeting the areas you want to reach, you can ensure that your ads are seen by people who are more likely to be interested and engaged in your message. This saves you money by reducing your ad spend on those who would not be likely to respond.
- Maximise your budget – By geo-targeting your ads, you can make the most out of your budget by only sending ads to people who are likely to purchase your product or sign up for your service. This way, you can get a better return on investment.
Targeting can also be used to target different areas with different messages. For example, you could target business owners in one area with a message about corporate services, while targeting homeowners in another area with a message about home improvements. This allows you to create tailored messages that are more likely to resonate with the people in each area.
Google Keyword Planner
Google Keyword Planner is a free keyword research tool available to Google Ads advertisers. It can be used to identify new keyword opportunities, get insights on their search volume, and estimate the cost for running keyword-based ads. It also provides data on the keywords that are already used in different locations, helping you tailor your ads to be targeted to those locations.
Google Keyword Planner has many features and benefits. It provides historical performance data, competition level, and average cost-per-click of related keywords. It also includes the “Location Groups” feature, which lets you group locations together to target your ads to specific geographic regions. This feature is particularly useful when you are trying to target an audience in different cities, or countries.
What are location groups and how do they work?
Location Groups is a feature in the Google Keyword Planner that enables you to group and target your ads to specific geographic regions. It allows you to create campaigns that are tailored to users in different cities, states, regions, or countries.
The feature uses a flexible hierarchical structure made up of groupings. For example, a region might have several states, each with its own target regions, and then each state with its own cities to target. By grouping multiple locations, you can more easily target ads based on more specific criteria.
Location Groups also helps you understand the differences in traffic in different locations, enabling you to identify potential opportunities and gaps in markets. This is important to optimize bids and improve the efficiency of your ad campaigns.
The data provided through Location Groups will enable you to glean insights about user behavior in different locations, so you can identify better targeting strategies in order to boost the success of your campaigns.
How to use location groups effectively with Google Keyword Planner?
Using Location Groups effectively can help you to maximize the impact of your SEO and PPC campaigns.
- Identify Competitor Locations: Identify your competitors and target the locations where they are strong. This will allow you to tap into their customer base and gain market share.
- 2. Research Demographics: Understand the demographics of the people living in targeted locations. This will help you to target specific ads to match the market’s needs.
- Analyze Traffic Patterns: Understand how different locations affect search behavior. This will allow you to optimize bids, as well as the content and design of ads to best meet the needs of customers in different areas.
- Optimize Bids: Use the best mix of bids and budget across locations
How to Use Location Groups in Google Keyword Planner?
The process of using location groups in Google Keyword Planner involves following steps
Step 1: Access Google Keyword Planner
To begin, log in to your Google Ads account. Once logged in, click on the wrench icon (Tools & Settings) at the top right corner of the page. From the dropdown menu, select “Keyword Planner” under the “Planning” section. This will open the Keyword Planner interface.

Step 2: Set up a New Campaign
Within the Keyword Planner interface, click on the “Discover new keywords” tab. This option allows you to explore keyword ideas for your campaign and refine your targeting based on specific locations.

Step 3: Enter Keywords and Locations
In the keyword input field, enter the keywords or phrases that are relevant to your products, services, or target audience. Then, in the “Enter locations” field, input the locations you want to target. You can enter countries, cities, regions, or even specific areas depending on your targeting strategy.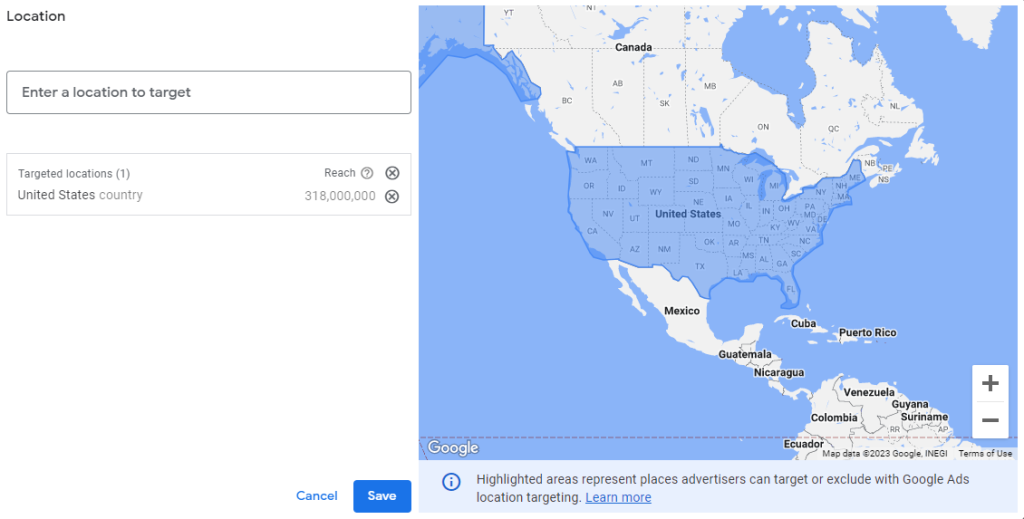
Step 4: Use Location Groups
Below the location input field, you’ll find a link that says “Refine location targeting.” Click on this link to access advanced location targeting options, including the use of location groups.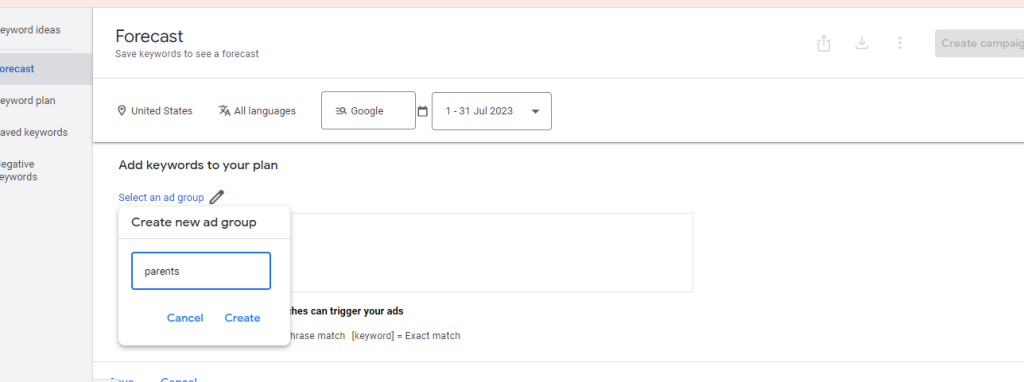
Step 5: Create a Location Group
Within the “Refine location targeting” section, you have the option to create location groups. Click on the “Create location group” button to start creating your group.
Step 6: Name Your Location Group
Give your location group a descriptive name that reflects the locations it will include. For instance, if you want to target specific countries or regions, you could name your location group “Europe” or “United Kingdom”.

Step 7: Add Locations to the Group
Once you have named your location group, you can start adding locations to it. Use the location search box to search for and select the desired countries, cities, regions, or areas. As you add locations, they will be included within the location group.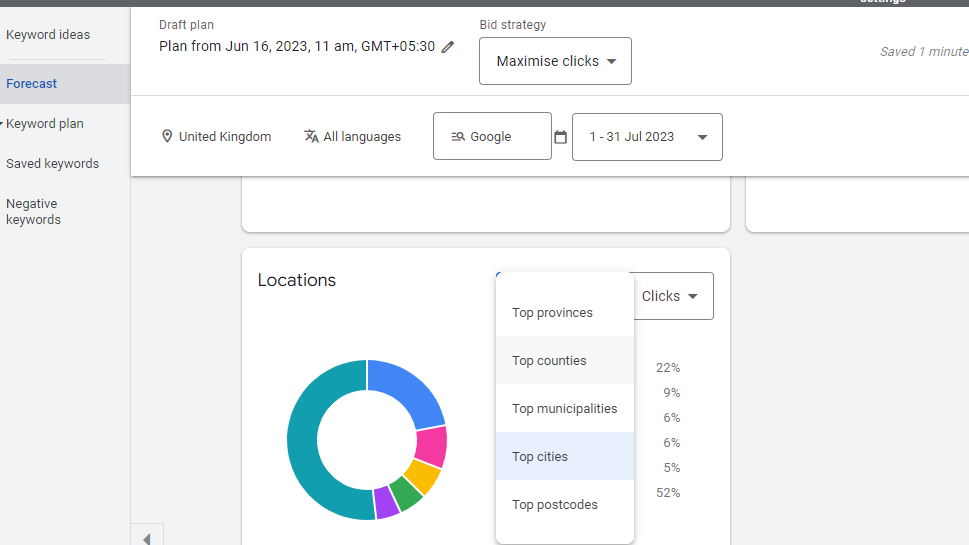
Step 8: Save Your Location Group
After adding all the relevant locations, click on the “Save” button to save your location group. This allows you to easily access and apply the group to your campaigns.
Final Words:
Google Keyword not only helps you discover relevant keywords but also allows you to optimize your ad campaigns by utilizing location groups. By targeting specific locations, you can reach your desired audience effectively and increase the success of your Google Ads campaigns. By following the step-by-step process outlined in this blog, you can harness the full potential of location groups in Google Keyword Planner and drive targeted ads to the right location
